Mock Apple Tarte Tatin

Mock Apple Tart.jpg

Makes 4 servings.

With store bought pareve puff pastry, this is a simple, quick and easy winter dessert. In a classic Tarte Tatin, sugar and butter is caramelized, apples are placed over and it is topped with short crust pastry. In this recipe, I use maple syrup, which makes it easier. It is delicious as is or with ice cream or sorbet.  

INGREDIENTS:

  • 1 tablespoon unsalted margarine
  • ¼ cup maple syrup
  • 3 Granny Smith apples, cored, peeled, thinly sliced
  • Puff pastry sheets which come in 17.3 ounce packages (See Note)

PREPARATION:

  1. Preheat the oven to 350F.
  2. Melt the margarine over medium heat in an 8-inch non-stick skillet and add the maple syrup.
  3. Remove from heat and arrange the apples attractively on the bottom of the skillet (remember this will be the top after baking).
  4. Cook for about 5 minutes over medium low heat, until the apples are JUST soft.
  5. Roll out 2 sheets of pastry, one at a time, just large enough to cut out two 9-inch circle. Place each circle over the apples tucking in EDGES VERY WELL.   
  6. Bake for about 40 minutes, or until the pastry is puffed and golden.
  7. Let rest for 2 minutes and invert unto a platter.
  8. I like to serve this dessert warm or at room temperature.

NOTE:

I use Pepperidge Farm Puff Pastry Sheets.


Apple Tea Cake

Apple Tea Cake 2.jpg

16, 1x2 inch servings.

Easy to make, seasonal, and nutritious with a bit of a tart taste, this apple cake serves many and keeps fresh. You can, of course, substitute other apples if the Granny Smiths are too tart for you.  

INGREDIENTS:

  • 6 Granny Smith apples, peeled, and cut into small cubes
  • 1 ¼ cups (4 ounces) walnuts, coarsely chopped
  • 2 tablespoons sugar

DOUGH INGREDIENTS:

  • 4 large eggs, at room temperature
  • 1 cup sugar
  • 1 teaspoon vanilla extract
  • 3 tablespoons vegetable oil, plus some for greasing the pan
  • 2 cups, all purpose- unbleached flour
  • 1 teaspoon baking soda
  • 1 teaspoon baking powder

PREPARATION:

  1. In a large bowl combine apples, walnuts and sugar. Let stand for 2-3 hours.
  2. Line a 9x13 baking pan with wax paper, extending the shorter ends to make it easier to lift the cake after baking. Grease the wax paper (See Note).
  3. Combine the flour with the baking powder and baking soda.
  4. Preheat the oven to 350 F
  5. Beat the eggs in a bowl of an electric mixer, using the balloon whisk attachment, at medium speed, adding sugar gradually until pale and thick, about 5 minutes.
  6. Add the extract and the oil.
  7. With a rubber spatula, or wooden spoon, gradually fold in the flour until combined well.  Lastly, fold in the apple/walnuts mixture until very well combined. 
  8. Spread the batter in the pan and smooth the top.
  9. Bake for 55 minutes. The top should be firm to the touch and the sides should slightly pull away from the wax paper.
  10. Place on a wire rack to cool.
  11. Cut to your desired size.

NOTE:

If you have parchment paper you do not need to grease it.


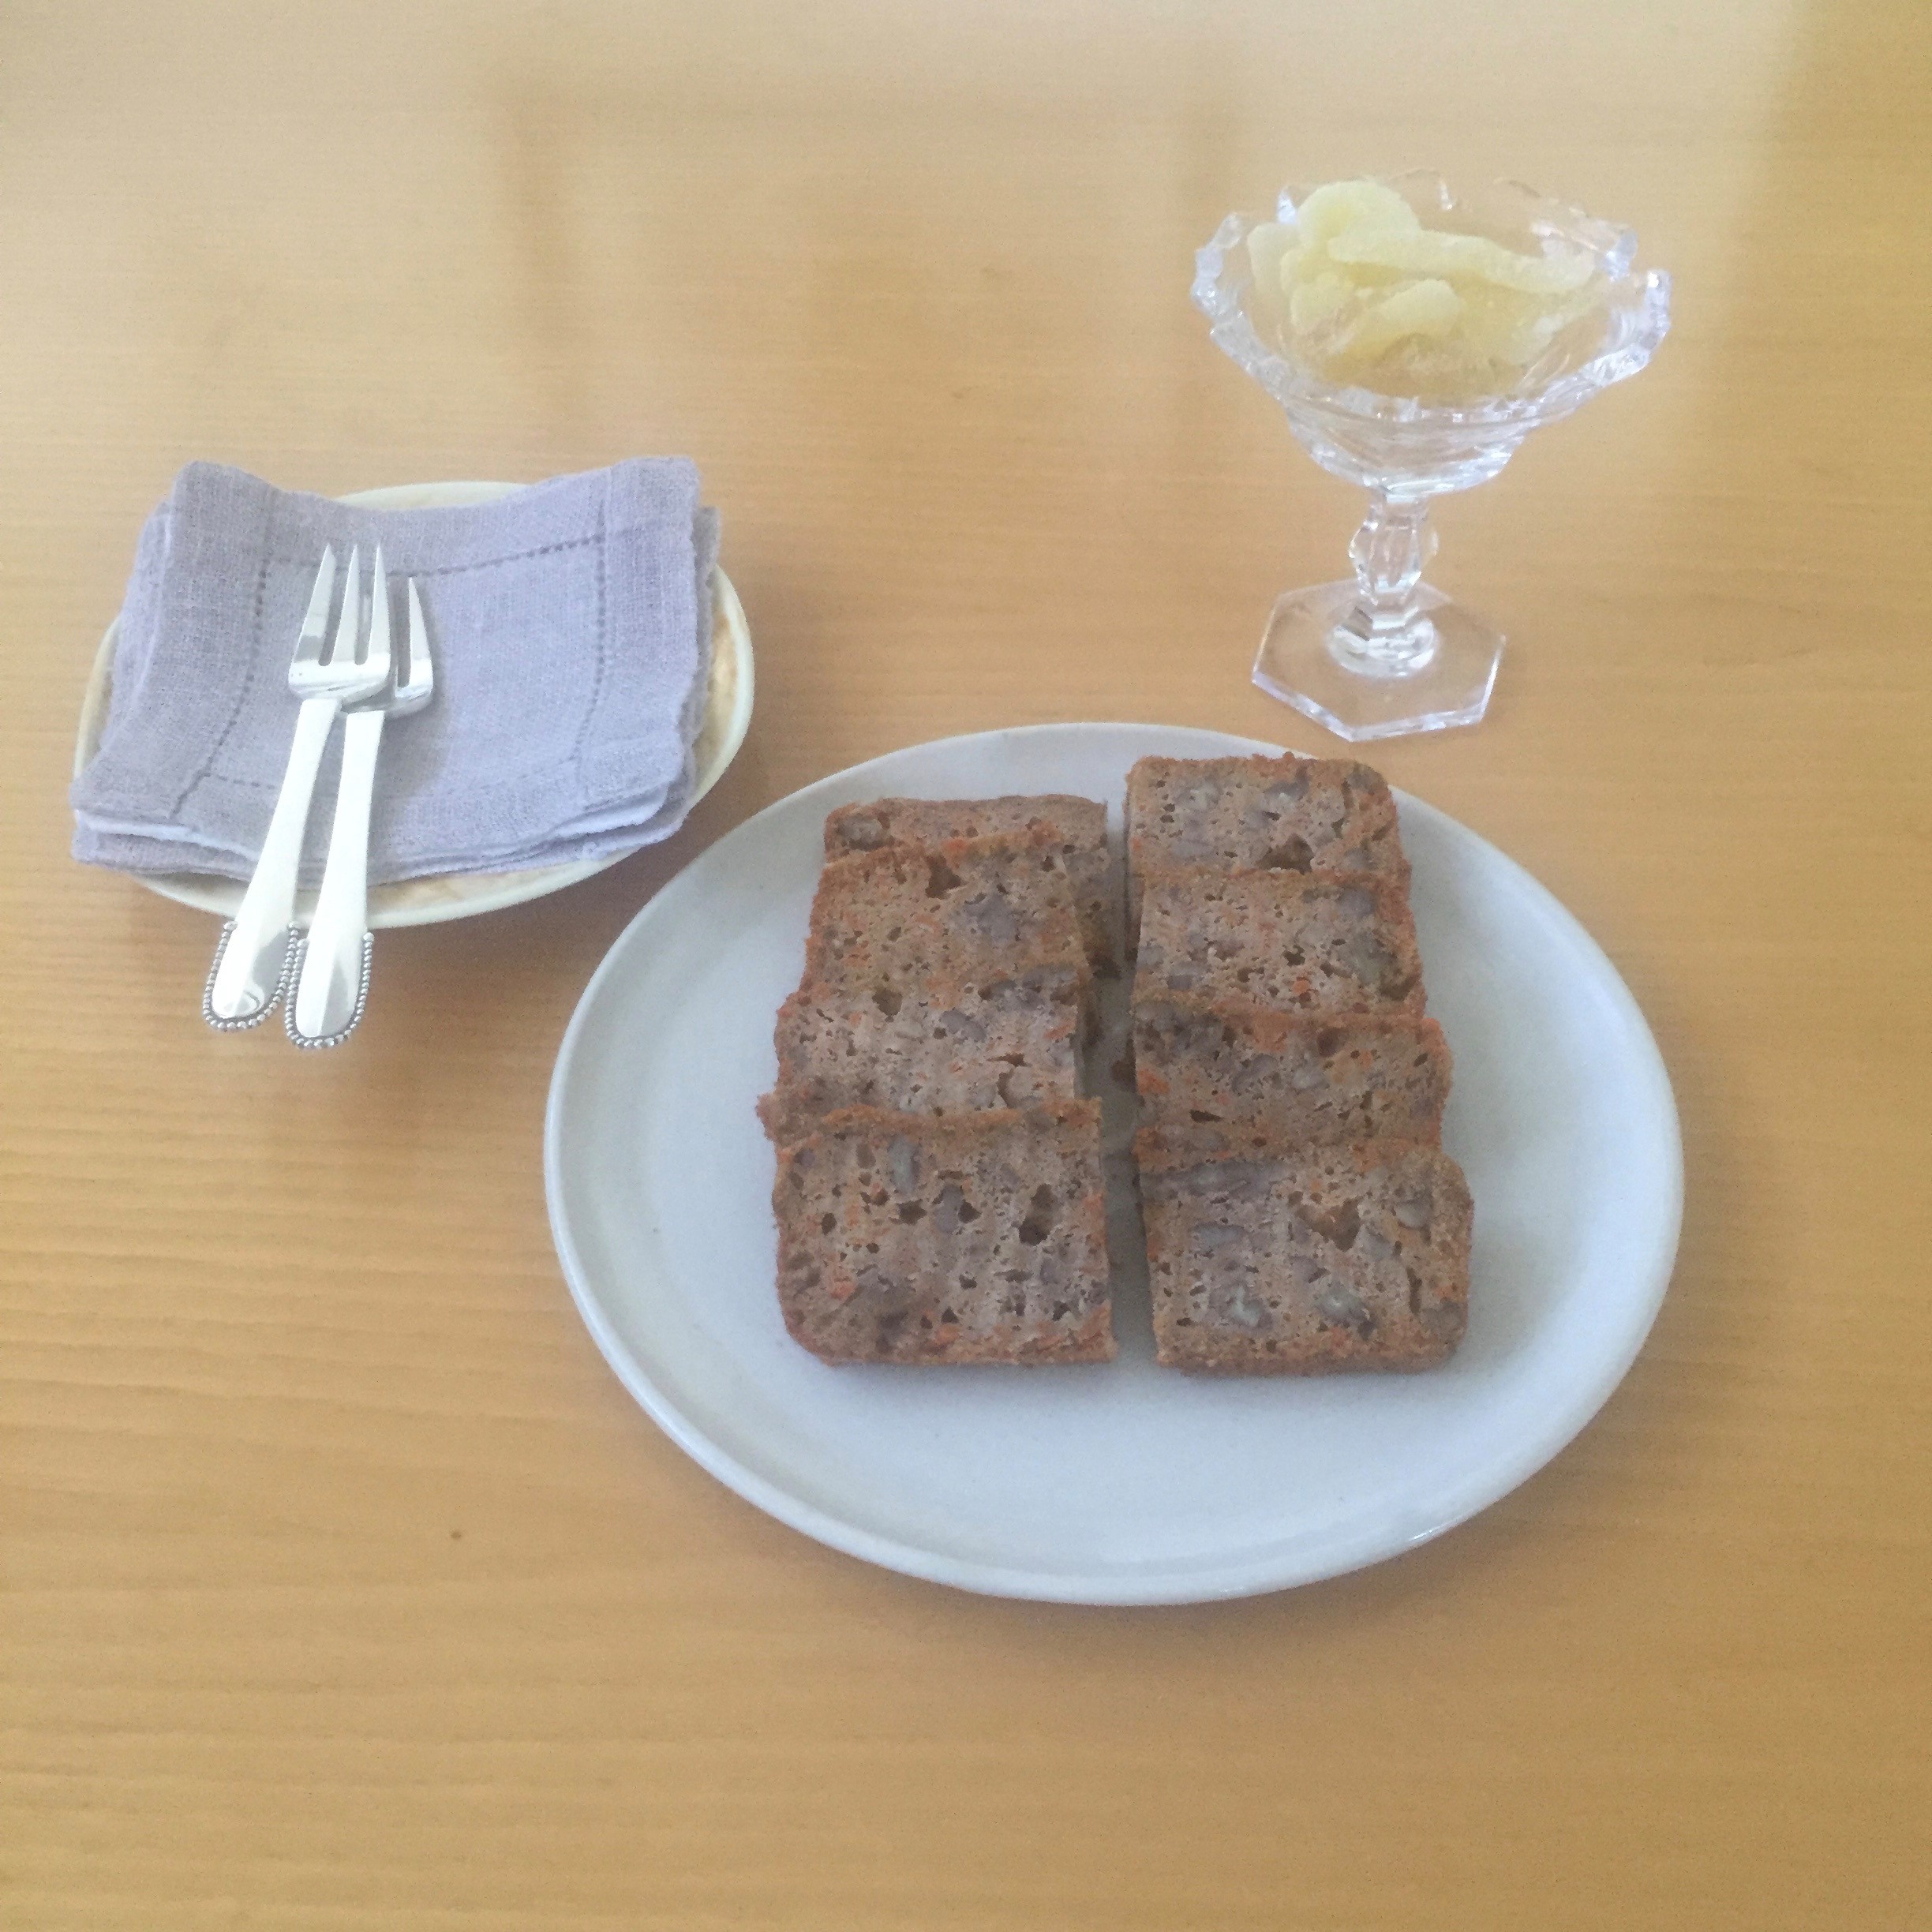
Carrot Loaves

Carrot Loaves2.jpg

2 loaves, each serving 12.

Nutritious, delicious and so easy to prepare, these loaves keeps fresh refrigerated or frozen. They are very convenient to have on hand.

INGREDIENTS:

  • 1½ cups walnuts (about 5 ounces)

  • 5 medium carrots, trimmed, peeled

  • ¾ cup vegetable oil plus some for greasing the pans.

  • ¾ cup light brown sugar

  • 2 cups all-purpose unbleached flour, sifted, plus 1 tablespoon for dusting the pans

  • ¾ teaspoon baking powder

  • ¼ teaspoon baking soda

  • 4 large eggs, at room temperature

  • 2 teaspoons ground cinnamon

PREPARATION:

  1. Preheat the oven to 350F.

  2. Coarsely chop the walnuts in a food processor fitted with the steel blade. Set aside.

  3. Coarsely grate the carrots in a food processor fitted with the medium grating attachment (you should have 3 cups tightly packed grated carrots). Set aside.

  4. Grease two 9 by 5-inch loaf pans with ½ tablespoon of the oil. Dust evenly with 1 tablespoon flour. Invert the pans and tap to shake off excess.

  5. In a large bowl combine the vegetable oil and the sugar. Stir with a wooden spoon for about 2 minutes. The sugar should be thoroughly mixed.

  6. Sift the flour along with the baking powder and baking soda directly into the measuring cup.

  7. To the oil mixture add small amounts of flour, than 1 egg at a time, mixing well after each addition with a wooden spoon.

  8. Fold in the carrots, nuts and cinnamon, until well blended.

  9. Divide the batter equally between the 2 prepared pans.

  10. Bake in the center of the oven, making sure that the pans do not touch for about 45 minutes.

  11. Test with a cake tester, it should be dry (carrot loaves do not rise to the top of the pan).

  12. Cool on a wire rack. Loosen the sides and unmold.


Plum Cobbler

Fruit Cobbler 2.jpg

Makes 6 servings.

This is a delicious, gluten free dessert, which I serve from oven to table. My favorite fruit for this cobbler are the large Italian plums. Unfortunately they only appear late in the season so I often use regular plums. To make this dish more special, you can serve it with sorbet or ice cream depending whether you use margarine or butter. Also you can make this dessert in individual ramekins.

INGREDIENTS:

  • 8 tablespoons unsalted margarine/butter chilled and cut into ½ inch cubes, plus ½ tablespoon for greasing the flan dish 
  • 1 cup ground almond flour with skin (See Note)
  • 1/3 generous cup sugar
  • ¾ cup blanched almonds, 3 ounces, sliced or chopped
  • 6 red plums or 8 -10 large Italian plums
  • 1 tablespoon cognac or fruit-flavored brandy

PREPARATION:

  1. Preheat the oven to 425F.
  2. Grease a 10 by 1½ inch ceramic or glass flan dish.
  3. Combine the almond flour, sugar and almonds in a large bowl. Add the margarine or butter and rub with your hands until the mixture is combined. Refrigerate until ready to use.
  4. Rinse the plums, pit them and cut into ½ inch pieces. Place the fruit in a bowl and toss with the liqueur of your choice.
  5. Spread the fruit in the bottom of the dish. Top evenly with the almond crumble.
  6. Bake the cobbler until the topping is golden brown, about 25 minutes. Serve warm.
  7. This cobbler can be assembled a few hours in advance, refrigerated and baked straight from the refrigerator.

NOTE:

I use Bob’s Red Mill almond flour with skin. It is readily available in all health food stores. It is simply unbleached almonds ground to a flour texture. Once opened, I keep mine in the freezer to have on hand.


Chocolate Soufflé

Makes 6 servings.

I could not resist featuring this revised dessert on my website even though it is in my cookbook, Helen Nash’s New Kosher Cuisine.  This soufflé is a chocolate-lover’s (and a hostess’s) dream--delicious, light and easy to make ahead of time. You can use a large soufflé dish or individual ramekins. Note that the soufflé goes straight from the refrigerator to the oven.

INGREDIENTS:

  • 1½ tablespoon unsalted margarine for greasing the soufflé dish or ramekins

  • 1/3 cup sugar, plus 2 tablespoons for dusting the soufflé dish or ramekins

  • 3 large eggs, at room temperature (See Note)

  • 2 ounces, high quality, imported semi-sweet chocolate, broken into small pieces

  • ¼ teaspoon cream of tartar

PREPARATION:

  1. Preheat the oven to 350 F.

  2. Grease a 4-quart soufflé dish or 6 ½-cup ramekins with margarine and sprinkle with sugar. Invert and tap to remove excess sugar.

  3. Place the chocolate into the top of a double boiler. Cover and set over simmering water until the chocolate is melted. Remove the top of the double boiler, uncover and cool slightly.

  4. Place the egg yolks in a bowl of an electric mixer. Using the balloon-whisk atttachment, beat the egg yolks, at medium speed, gradually adding all but 1 tablespoon sugar, until the mixture is pale, about 5 minutes.

  5. Lower the speed and beat in the melted chocolate.

  6. In an electric mixer bowl beat the egg whites, at high speed, using the balloon whisk until foamy. Add the cream of tartar, the reserved 1 tablespoon sugar and beat the egg whites until they are stiff and glossy.

  7. With a rubber spatula, fold a heaping tablespoonful of egg whites into the chocolate mixture. Then reverse the process, pouring the chocolate mixture over the egg whites.

  8. Fold the two mixtures together, making a motion like a figure 8 until the ingredients are well combined.

  9. Spoon the batter into the soufflé dish, cover with cling wrap and refrigerate until ready to bake. If you are using ramekins, an ice cream scooper is a big help. Place them on a cookie sheet. Cover all with press and seal wrap and refrigerate until ready to bake.

  10. When ready to bake, place the soufflé dish (or the cookie sheet with the ramekins) in the oven straight from the refrigerator and bake until the center is almost set, about 20 minutes (if you are using ramekins, bake them for 14-15 minutes).

  11. Serve right away.

NOTE:

It is easier to separate the eggs straight from the refrigerator, while they are cold, as the egg yolks tend to break as they warm.